You sketched a diagram on paper or a whiteboard, an architectural concept, a biology diagram and now you need to include it in a presentation, report, or document. The raw photo looks unprofessional: crooked lines, paper texture, marker smudges, and inconsistent colors.
This guide explains how to turn those rough sketches into clean, professional digital illustrations with AI diagram reconstruction, and how to use DocMorphix's reconstruction styles to match your target aesthetic.
Have a diagram to digitize?
Upload your sketch to DocMorphix and choose a reconstruction style.
Why Hand-Drawn Diagrams Are Difficult to Reuse
A hand-drawn diagram captures ideas quickly, but the result is tied to physical media. Photographing it produces a raster image with several problems:
- Paper texture and ruling lines appear in the background.
- Marker or pencil strokes are uneven and wobbly.
- Lighting creates shadows and uneven brightness.
- Colors are inconsistent different markers on the same drawing may look mismatched.
- The image cannot be scaled up without becoming blurry.
- It looks clearly hand-drawn in a professional context where clean graphics are expected.
Photographing and Preparing Diagrams
The quality of the photo affects the quality of the reconstruction:
- Place the paper flat and photograph from directly above to minimize perspective distortion.
- Use even, diffused lighting avoid directional light that creates shadows across the drawing.
- Fill the frame with the diagram. Crop out surrounding desk or notebook edges.
- Ensure the lines are visible and distinct. Faint pencil drawings are harder to reconstruct than bold marker lines.
- If the drawing spans multiple sheets, photograph each one separately.
Cleaning Up Rough Sketches
Before uploading, you can improve results by using DocMorphix's built-in cropping tool to isolate the diagram area and remove margins, notebook spirals, or other artifacts. This helps the AI focus on the actual diagram content.
You do not need to pre-process the image in Photoshop or another editor. The reconstruction process handles paper texture removal, line straightening, and color normalization internally.
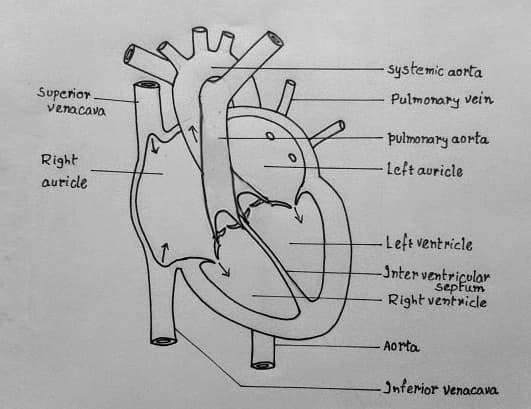
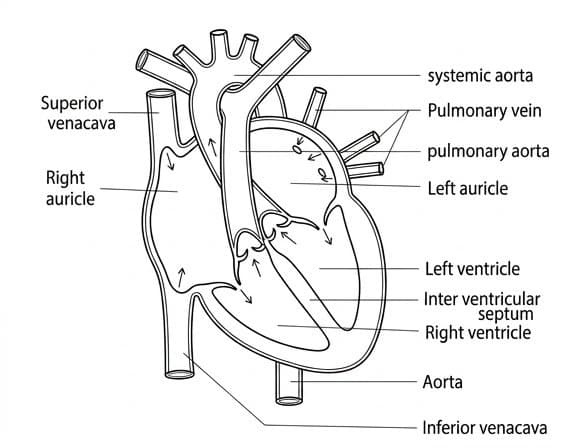
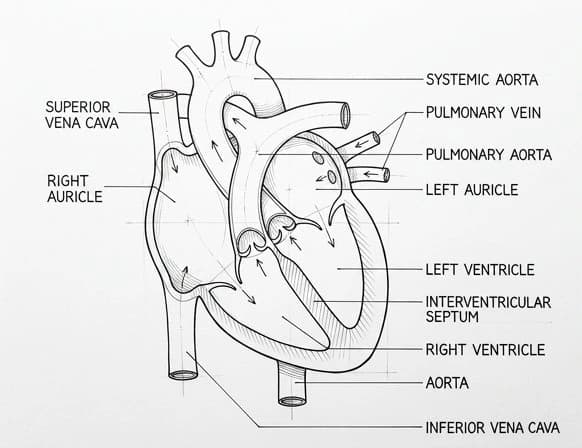
A rough pencil anatomical diagram reconstructed with straightened digital strokes and clean geometric clarity.
Reconstruction transforms the visual appearance of the diagram. The AI interprets the sketch content and generates a new clean rendering it does not trace lines pixel by pixel.
The Four DocMorphix Reconstruction Styles
DocMorphix offers four distinct visual styles. Each produces a different aesthetic from the same input sketch:
Digitalized
Clean digital reproduction with straightened lines and precise geometry. Best for technical documentation where clarity matters more than visual flair.
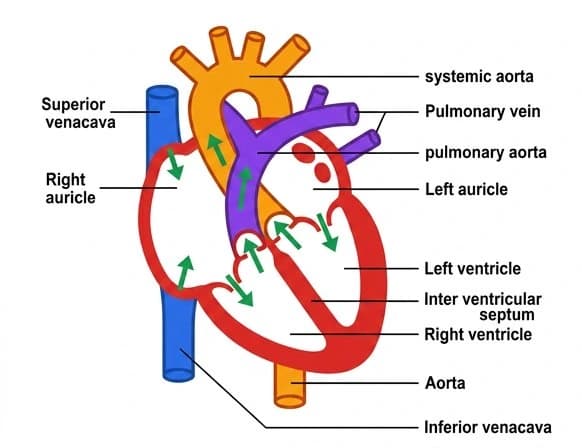
Vectorized
Bold flat shapes with thick strokes and saturated colors. Suitable for presentation slides where the diagram needs to stand out visually.
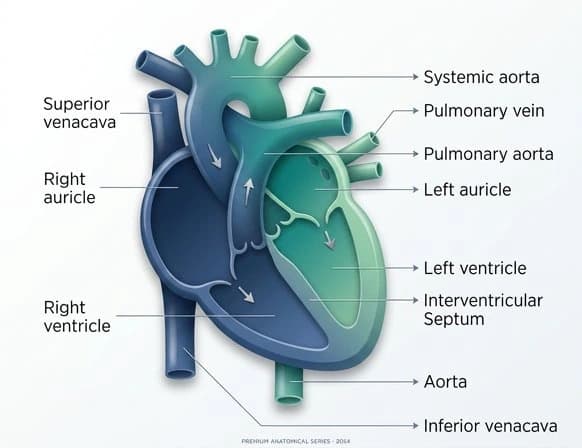
Enhanced
Modern 3D styling with lighting, depth gradients, and visual polish. Works well for marketing materials and polished reports.
Clean Sketch
Black ink line-art with no color fills. Paper background is removed, leaving only the clean strokes. Ideal for academic papers and minimalist documents.
Refining Diagrams with Prompts
After the initial reconstruction, you can refine the result using natural language instructions. The prompt-based refinement system accepts short text descriptions of changes you want:
- "Make the background white instead of gray"
- "Use blue for the connection lines"
- "Increase the thickness of the outer border"
- "Remove the text labels and keep only shapes"
- "Add a subtle drop shadow to each box"
Each refinement uses 1 image credit. The refinement works best for color, style, and background changes. Structural changes (adding new boxes, moving elements) may not produce predictable results.
Exporting and Using the Resulting Graphics
DocMorphix offers three export formats:
High-resolution raster image with transparency. Best for inserting into Word documents, Google Docs, and slide decks.
Compressed raster image on a white background. Suitable for web use and email attachments where file size matters.
The image is wrapped in an SVG container for scalable display. Note: this is not a true vector SVG with individually editable paths it is a raster image inside an SVG envelope for scaling purposes.
To use the diagram in a PowerPoint presentation, download the PNG and insert it as an image. For reports in Word, the same PNG insertion works. For web pages, JPEG or the SVG wrapper both work well.
Turn your sketch into a professional diagram
Upload a photo of your hand-drawn diagram, choose a style, and download a clean digital illustration.
Frequently Asked Questions
Common questions and clarifications about diagram reconstruction.